My Logo Design Process (+ How You Can Use it for Your Blog or Biz)
My logo design process has taken me years to fully develop – but I’m happy to say that I finally have a freaking awesome process in place that feels good for both myself AND my clients. Not only does it give me several opportunities to find inspiration and do some brainstorming, but it also provides several stopping points throughout the process to make sure that I’m on the same page as my client. This design process has helped be design tons of logos and I think it will be helpful for you too!

I wanted to share my logo design process with you for a few reasons:
To educate potential clients on how I work and why I implement the process I have in place.
To teach bloggers and business owners that are DIYing their own logo how to go about designing it themselves (because let's be honest… it's hard!)
To help other graphic designers or future freelancers learn what system I have set in place, in case they want to model their process similarly
Coming up with a logo, whether it’s for yourself or for someone else, can be hard, frustrating, and scary. Using this logo design process will make your life will be 100x easier and will ensure that you get a logo that makes sense for both you and your brand.
Are you ready to walk through my logo design process? Let’s get to it!
Step 1 | Logo Design Brand Questionnaire
Before I actually start working on logo design projects, I first have all of my clients fill out a logo design brand questionnaire. This questionnaire allows me to get a good handle on the blog or business as a whole, as well as their preferences and ideas.
The questionnaire covers:
A general overview of their business or blog – like the business name, website, and their services or content they offer.
We then dig a little deeper so that I can understand who their target market is, how they stand out from their competition, and what overall message it is that they want their brand to convey.
I then ask them to summarize this message into 5 words, which plays a huge role in how I develop their branding.
I also ask about any personal design preferences and whether they have any brands or logo they really love. This also helps me decide on a general style and direction to take their branding.
For DIYers:
If you’re designing your own logo, begin the process with some bigger brand conceptualizing. Think through who your target market is, what you want your brand to portray and take into consideration your own design preferences. Use your answers to build a starting point for a design direction or style.
Here's a post for you to read about how I came up with my logo concept.
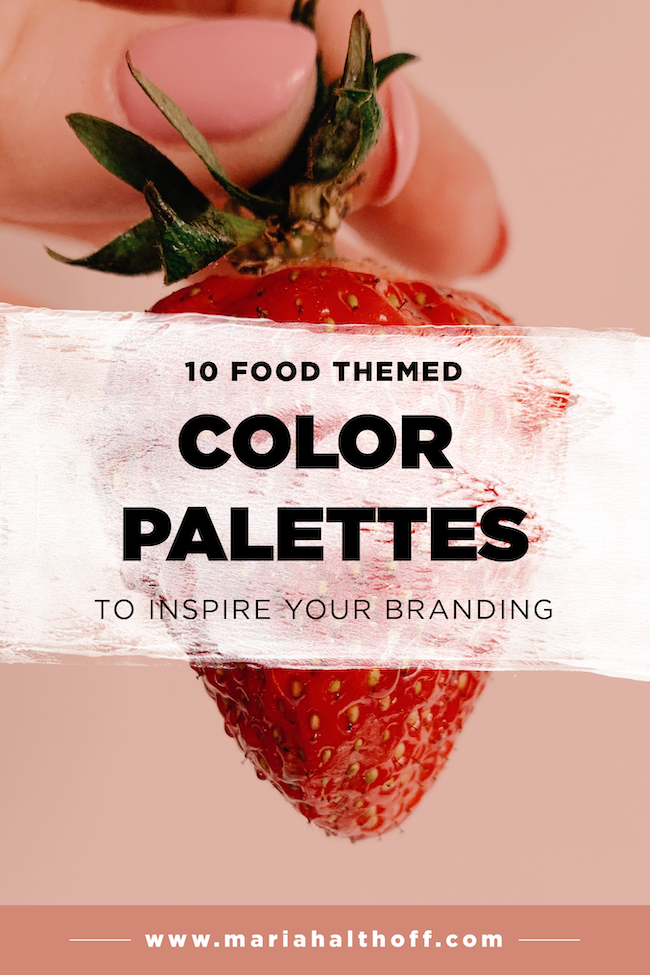
Step 2 | Design a Mood Board & Color Palette
Using the client’s answers from their brand questionnaire, I begin creating the mood board. A mood board is a group of images that visually conveys a style, mood, and overall feel. I use these to give my clients a concrete visual example of what I’m envisioning in order to make sure we are on the same page before I even begin designing.
To do this, I dig through Pinterest and free stock photo sites (here’s a list of my favorites) and find anything that resonates with the brand I’m envisioning. I make a huge Pinterest board full of color palettes, design inspiration, typography, patterns, textures, and imagery that depicts the mood of the brand I’m picturing for their business.
Once I have a board full of these images (usually between 20 and 40 pins), I start to pick my favorite and most cohesive examples. Typically from these pins, you’ll begin to see some color trends, which will begin to develop your color palette. I will typically choose a color palette and then start choosing the final images that make it onto the mood board itself.
Once the mood board is ready to go, I send it off to the client for approval. If they like it and are totally on board with the direction I’m envisioning, we move forward! If they want some tweaks made, we revise the board until it’s perfect.
For DIYers:
I have two different posts that totally lay out this entire process for you and teach you how to do it yourself!
How to Create a Mood Board to Inspire your Branding
How to Create the Perfect Color Palette for your Brand
Logo Design Process Step 3 | Gather Inspiration
If I don’t already have a few logo ideas in mind, I’ll scour Pinterest and the rest of the internet for design inspiration. There’s not much to say about this step, as it’s pretty self-explanatory, but I did write a whole post on it that’s especially helpful if you need help finding websites for design inspiration.
Read it here: How to Find Design Inspiration and Beat your Creative Block
Step 4 | Start Sketching
It’s time to start sketching! I always start the design process in my notebook in order to get all of my ideas out on paper. I typically have a lot of different logo ideas swirling around in my head, so putting them down on paper makes the process more organized and efficient. Not only does sketching allow me to visually see all of my ideas in one place, but it gives me a way to pick and choose which ideas are actually successful on paper. The more I design the more I realize that just because it looked good in my head, doesn’t mean it’s always going to look good when you get it down on paper. This also means that sketching first saves me time, by ensuring that I don’t spend 45 minutes working on a logo concept that ends up not looking as good as it did in my head.
Get all of your ideas out there before you take any of them to the computer!
For DIYers:
Sketch, sketch, sketch! It will save you time in the long run by flushing out any bad ideas. It also acts as a great “brain dump” in order to get all of your ideas out on paper. These sketches don’t have to be well drawn! In fact, mine are normally terrible (and I majored in drawing). As long as the general concept is laid out in front of you, it will help wonders!
Step 5 | Come up with 3 Logo Concepts
Once I’ve finished sketching, I’ll pick my three best ideas from my sketchbook and start recreating them in the computer. I use Adobe Illustrator to design logos, as it’s the best program for the job. Illustrator allows you to draw your logos and ensures that you end up with a vector file (scalable, print version), rather than a raster file (pixelated, web version).
To understand why I use Illustrator for logos (instead of Photoshop or some online platform like Canva), read these two blog posts:
Step 6 | Make any necessary revisions to the logo options
Once I’ve completed my three logo concepts, I’ll present them to the client. From here the client has the opportunity to request any changes they want to be made to any of the options I’ve sent them. I’d say 50% of the time the client loves one of the options as is, and the other 50% of the time they have a few tweaks they want to be completed. Typically these tweaks end up being things like swapping around colors or using a font from a different option in combination with their favorite logo option, etc.
Step 7 | Choose a favorite logo and make variations
Once any necessary revisions have been completed, it’s time to choose a favorite! Once that favorite is chosen, I will typically come up with 2 other logo variations (depending on the package the client purchased). I like to include a stacked version, a horizontal version and an icon version of their logo, in order to accommodate any sizing or layout restrictions they may run into down the road. Having multiple variations ensures you will never have an awkwardly sized or spaced logo because you'll have 3 sizes and layouts to choose from!
Step 8 | Save out the final logos
Once I’ve completed the final logo and its variations, its time to save each one of them out in a few designated formats.
Here’s how I save my logo projects:
- Save each variation of every logo into two separate folders, one for print and one for the web.
- The web versions are saved out as both PNGs (which have no background) and JPGs (which have white backgrounds)
- The print versions are saved out as PDFs and EPs files, both of which can be opened and edited in Adobe Illustrator
- I then go through this same process for an all white logo option for all three variations (unless the logo doesn’t work well in all white).
This step does take a hot minute because you’re saving a million different file types, but it’s all worth it in the end! Having every file type they might need going forward sets the client up for success down the road.
For DIYers:
Make sure at the bare minimum you’re saving out one raster (web) and one vector (print) file of your logo. If you need help understanding what that means, hop on over to this super short blog post where I explain the difference between raster and vector!
Step 9 | Develop a style guide
Once the logo is completely finished, it’s time to create a style guide! The style guides I include in my branding packages are a bit more in-depth than what several others offer because I want this style guide to acting as a useful reference guide for my clients, given that many of them will DIY some of their branding materials as they go.
My style guides typically include the following pages:
- Final Logo and Variations
- Color Palette (with hex values)
- Branded Typography (header font, body font and sometimes an accent font, as well as where to download them)
- Mood board
- Brand Guidelines (here I outline how to design within your branding style and include several examples and ideas of how to do so)
And that's how I work with clients to develop the perfect logos for their blogs and businesses! It can be a long process, but it works. If you’re up to the challenge, take the free branding quiz and get started yourself! If you realize you now how much time and energy goes into creating professionally done logos, you can just hire me to do it instead!